Podcast recording made easy - How to record a podcast professioanlly - tips and tricks
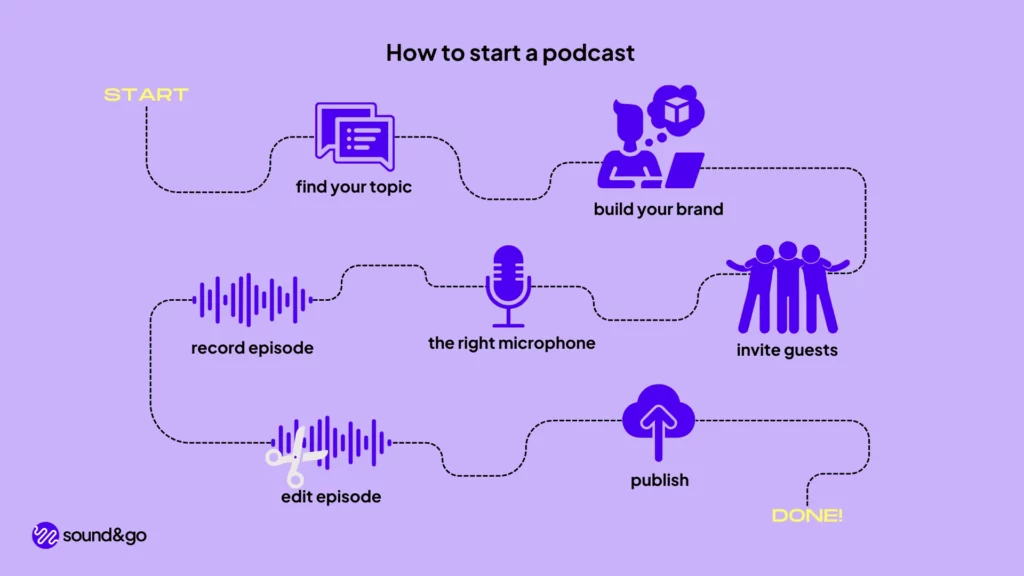
Now you’ve finally arrived at the podcast recording stage. If not, here are 10 steps to creating a podcast!
-
 by
Fabian
- last edited: 15.01.2026
Want to record your first podcast? We'll show you how!
In the best case scenario, you have now finalized your podcast concept and the entire planning and want to start the first podcast recording. But what do I need to bear in mind? What typical mistakes should I avoid? You’re probably asking yourself these questions – we have the answers!
Planning is the most important thing! Podcasting is all about taking your listeners with you, every episode. Before recording, you should already have a plan of what topics you want to discuss, how you’re going to keep people “happy” and most importantly: How long will my podcast episode be?
Until you have answered these questions, you shouldn’t just start recording. There are enough “babble podcasts” without a concept, in this field you only have a chance if you are a person of public interest.
The most important thing: The microphone
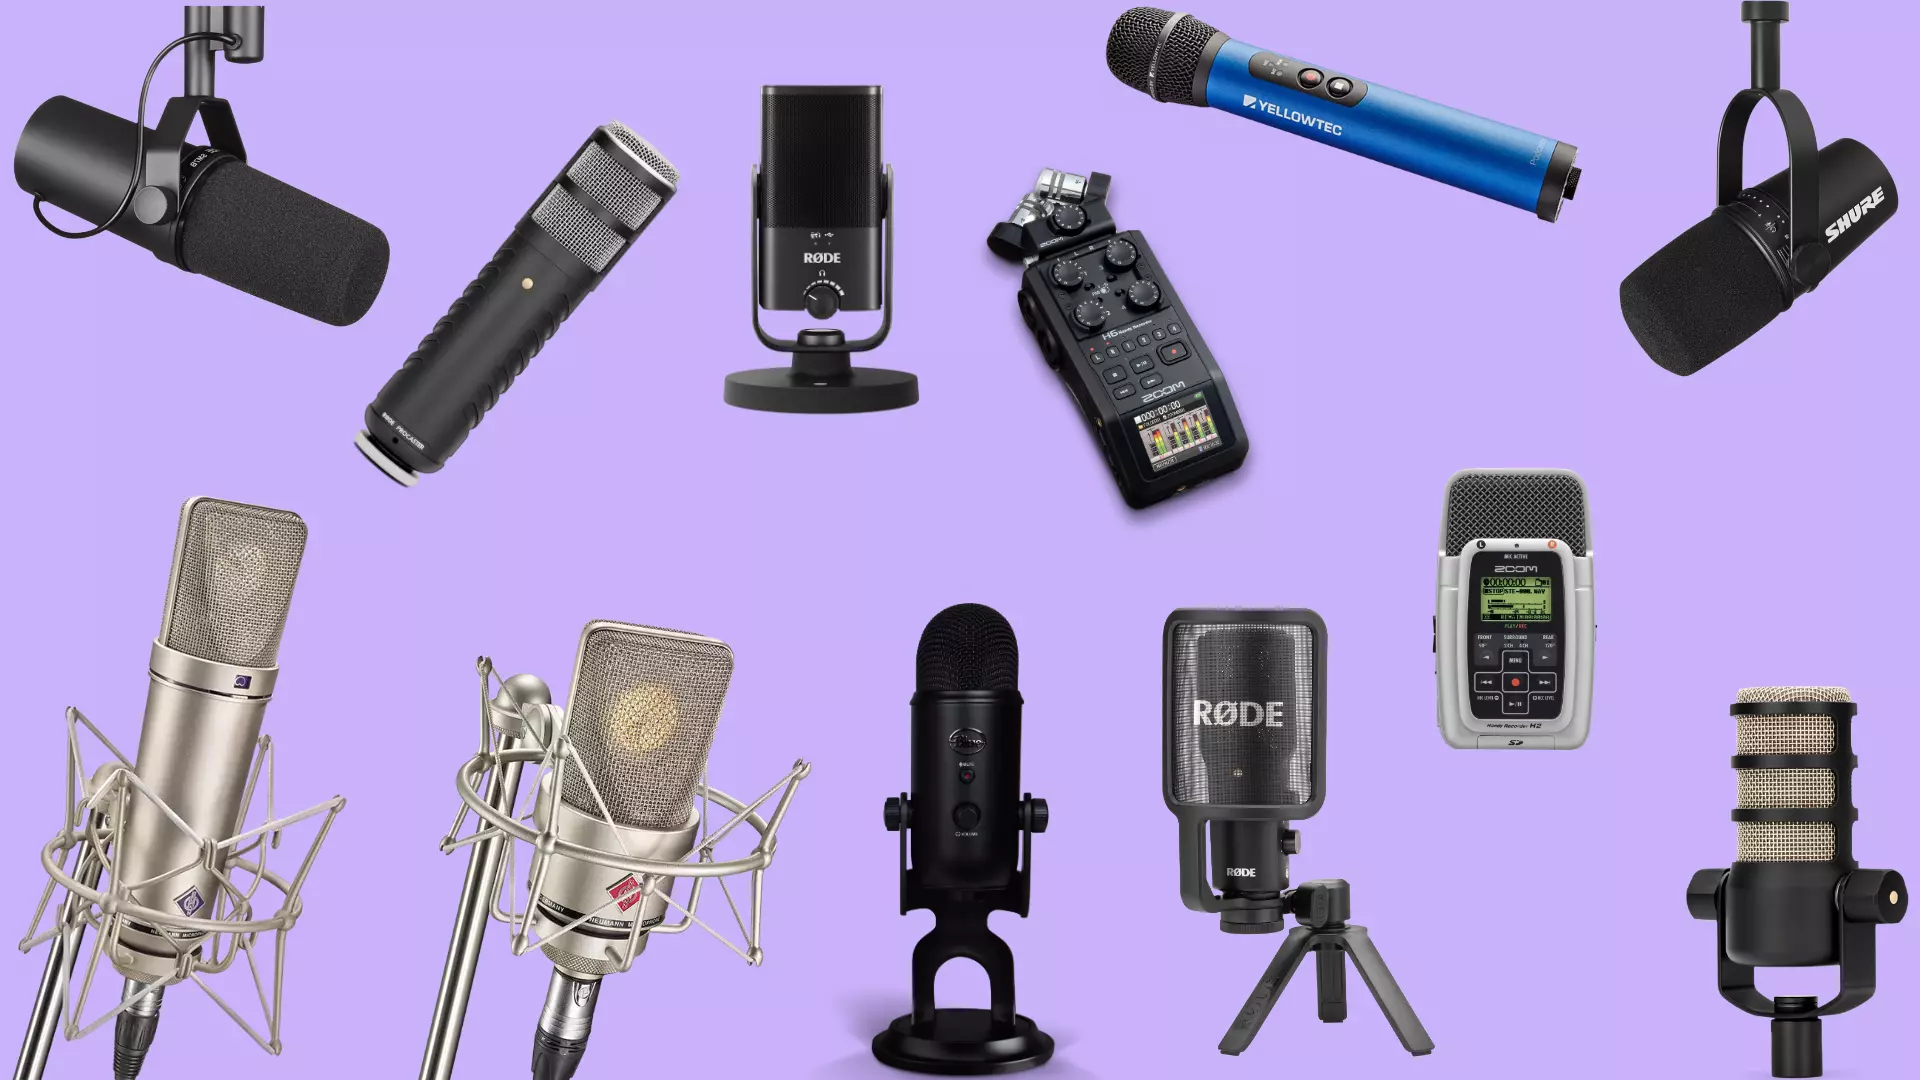
To record your podcast, you obviously need a microphone! Which microphone is right for you? What budget can you afford? We have a complete guide to podcast microphones.
The budget
Of course, you should pay attention to your podcast costs, especially at the beginning, because if you buy a microphone that is far too expensive and then don’t use it, it is money spent unnecessarily.
There are already some good microphones that are priced at around €100. USB microphones are also recommended in this budget, as you can connect them directly to your PC or Mac and select them. So plug and play!
Microphones for approx. 100$:
These recommendations are personal recommendations!
A great beginner’s model, inexpensive, with a small stand and high-quality sound.
Also a beginner’s model, easy to use, great sound for the price! Includes “stand foot”
Microphones for from approx. 200$:
These recommendations are personal recommendations!
Røde PodMic USB (USB and XLR!)*
This is great value for money, because you can connect it to the interface and the PC! Great sound, we have tested the PodMic USB extensively!
For a little more money, you can get a great model: it sounds like the legendary SM-7B from Shure and is very flexible. Click here for our Shure MV7 test.
If you buy an XLR microphone, you will also need a USB audio interface. This takes the microphone signal, amplifies it and digitizes it so that you can get it into your computer. These interfaces are already built into USB devices.
Plug in the microphone and go! ….. Right?
The distance to the microphone
In order to record your voice with the highest possible quality, you should reduce external noise and pay attention to the distance to the microphone.
The optimum distance to a large diaphragm microphone, which is typically used for recording podcasts, is approx. 10-20 cm. It is best to test your equipment before recording and see what happens when you increase or decrease the distance.
You will notice that the voice sounds fuller and has more bass the closer you get to the microphone. This is the so-called proximity effect. This should not be exaggerated in podcasts, as the voice should sound natural. The greater the distance to the microphone, the louder background noise, such as hissing or similar, becomes and the voice becomes quieter and “thinner”.
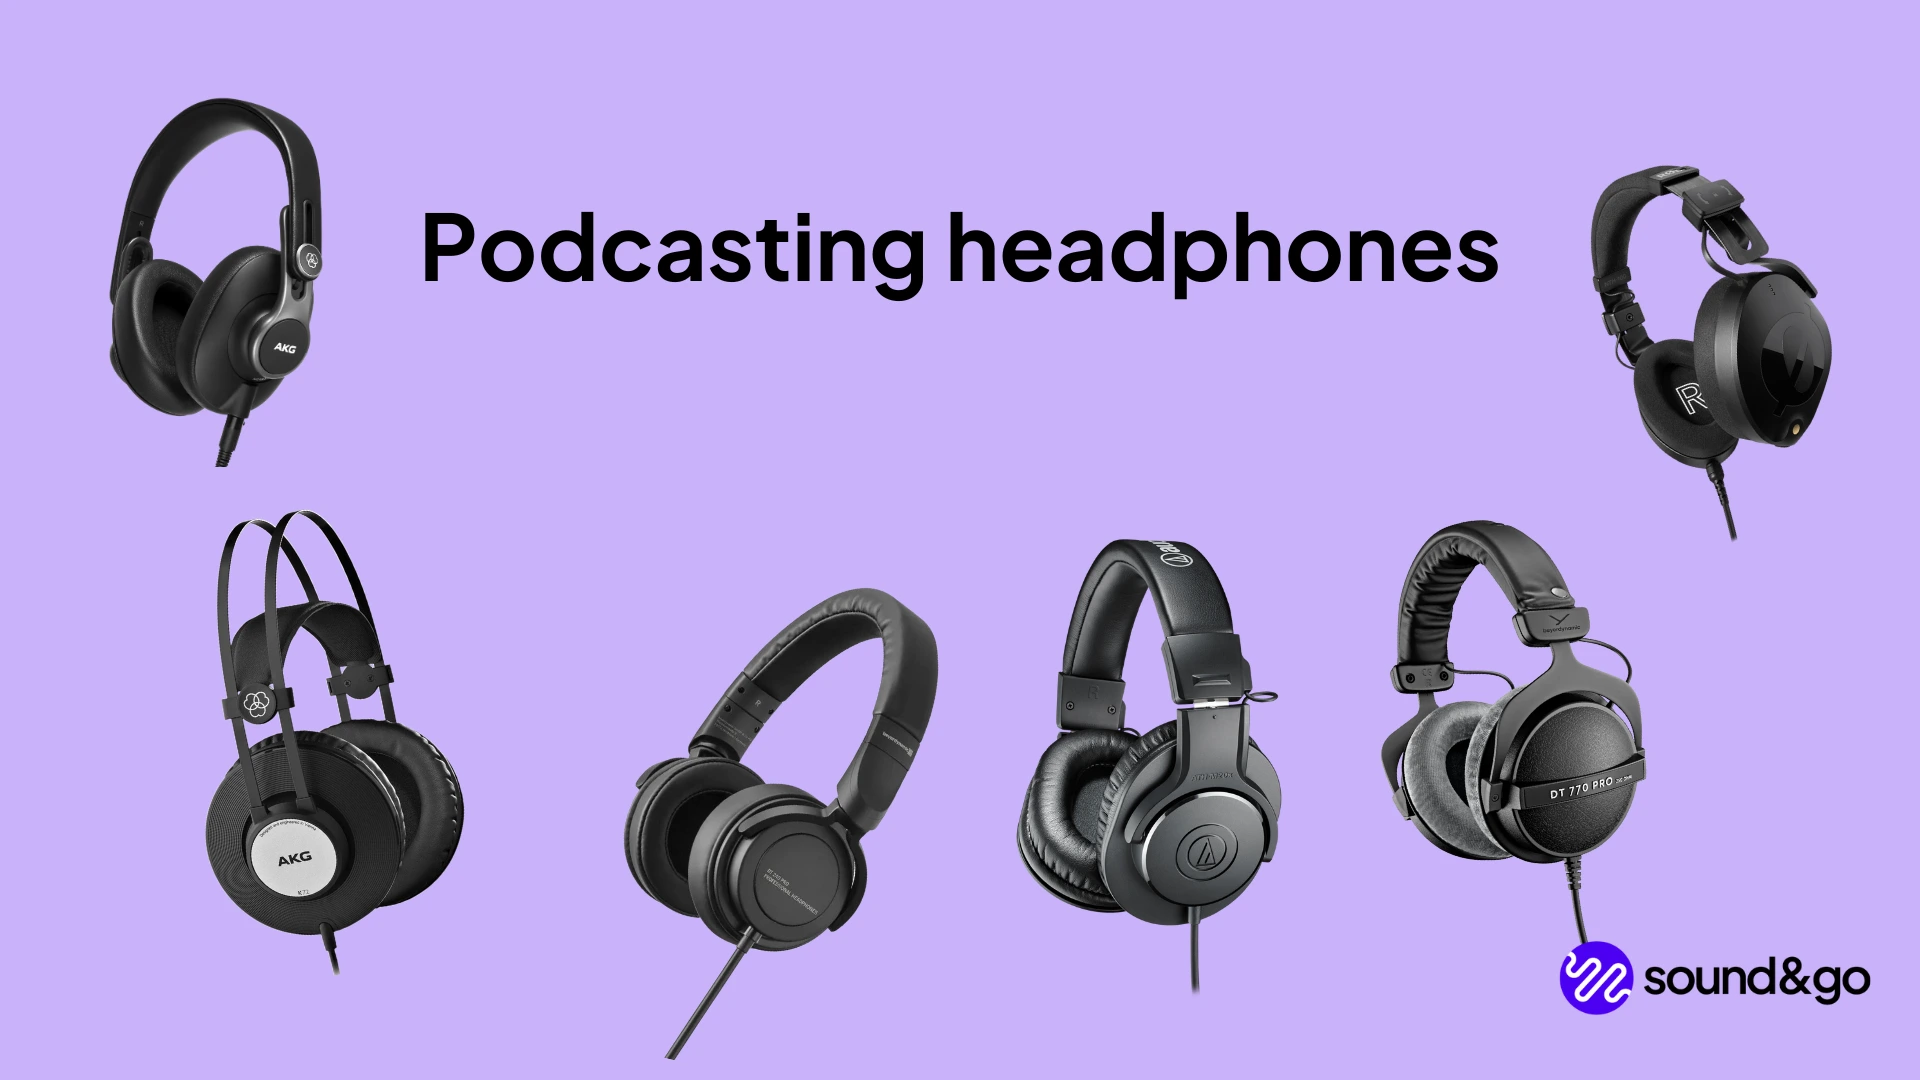
Headphones
Headphones are absolutely essential, especially for remote recordings! This is because if you are recording via video conference, the speakers may still be transmitting sound to your microphone while you are already speaking. This means that you can still hear the other person’s bad sound while you are already speaking. This can no longer be saved in post-production.
If you always have the other person on the headphones, then you only record yourself in isolation with your microphone. Just as it should be! So you should use headphones.
It’s different if you’re actually doing a solo podcast or recording on location with another person. You don’t need to use headphones here, as they make little difference to the recording. Nevertheless, you can of course use them to hear yourself and your guests clearly. You may also notice that smacking or unpleasant noises are sometimes reproduced very clearly. You can then pay attention to this and reduce these noises somewhat.
To find out which podcast headphones are best for you and your budget, we also have a blog article. (In some cases, however, AirPods or similar are also sufficient, as the aim is not to transmit the external sound signal to your own microphone).
The shooting situation - including tips for long-distance shots
The world is connected and you can use this to your advantage. You certainly won’t have a studio, want to rent one or travel across the country to start a podcast. You can easily meet your interview guests online.
But please do us and your listeners a favor: Don’t use Zoom recordings! Zoom is a great and popular meeting program, but it is absolutely not suitable for audio and video recordings. If you record the individual tracks on Zoom, the sound quality is terrible! Even though you both work with professional microphones! Why is that?
Most meeting programs transmit the sound compressed, i.e. as small as possible. Many frequencies are cut off and extremely reduced. The recording quality suffers! But there are tools and tips you can use to counteract this.
Riverside* and Squadcast* are two providers with which you can easily record your remote podcast in just a few minutes. The good thing is that nobody needs any additional software and everything is super simple. This makes it easier for people who tend to have problems with technology to enter the world of podcasts. The only disadvantage is that this service is not free, it is a subscription model. More on this in the blog article: Record a podcast remotely.
Studio-Link is a free alternative (depending on the pricing model), but it does need to be set up. A little tip from us: If you or your guest has a Mac, it’s super easy to start a recording with QuickTime Player at the same time. To do this, open QuickTime Player, click on “File” and then “New audio recording” and select your microphone or interface. You will find the selection list next to the red “Record” button. Then click this and the recording will start free of charge and without external tools! Make sure you do a small test run so that you really have the audio tracks at the end.
You can still use Zoom, FaceTime, Teams or similar software for communication. Here you can still record with Zoom, for example, in case something goes wrong, you have a backup.
Reverberation and other unwanted noises
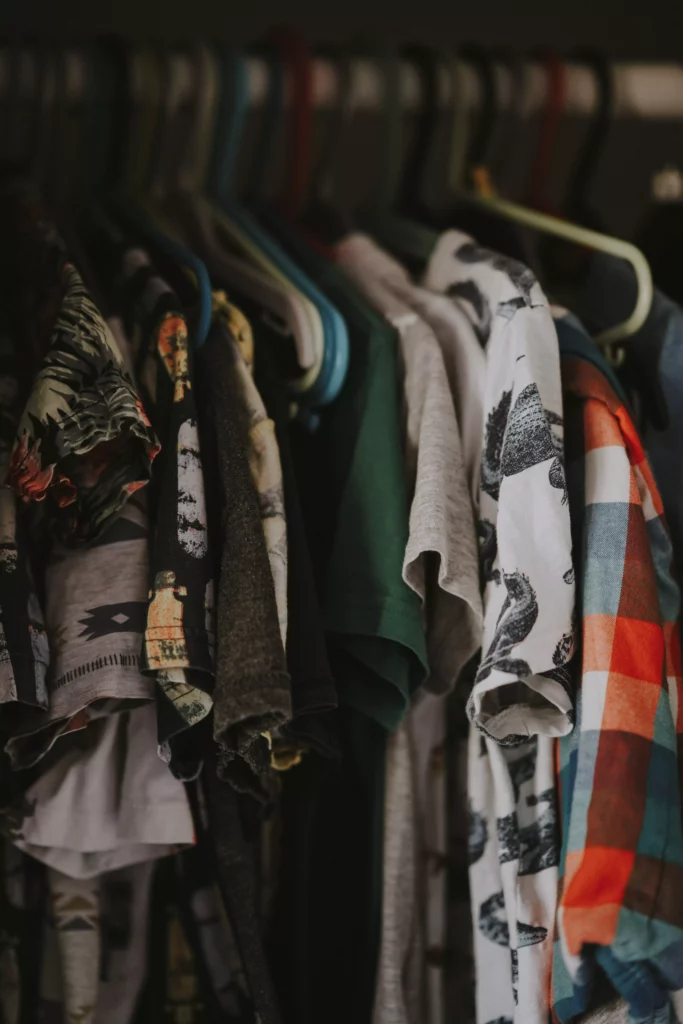
Your recording situation should avoid background noise and reverberation. The best way to do this is to find a room that is not so reverberant. Carpet, a bed or thick curtains in the room absorb sound, as do clothes in the closet. Here’s a tip: stand halfway into your closet and speak into it. This will help you to make your tone sound “dry”.
If you don’t have a suitable closet or you don’t feel up to it (or perhaps you want to make a video for social media), then you should record in a room that is not reverberant. You can also arrange your bedding behind the camera so that it can absorb reverberation.
Audacity, Audition or Garage Band? Which software should you use for podcasts?
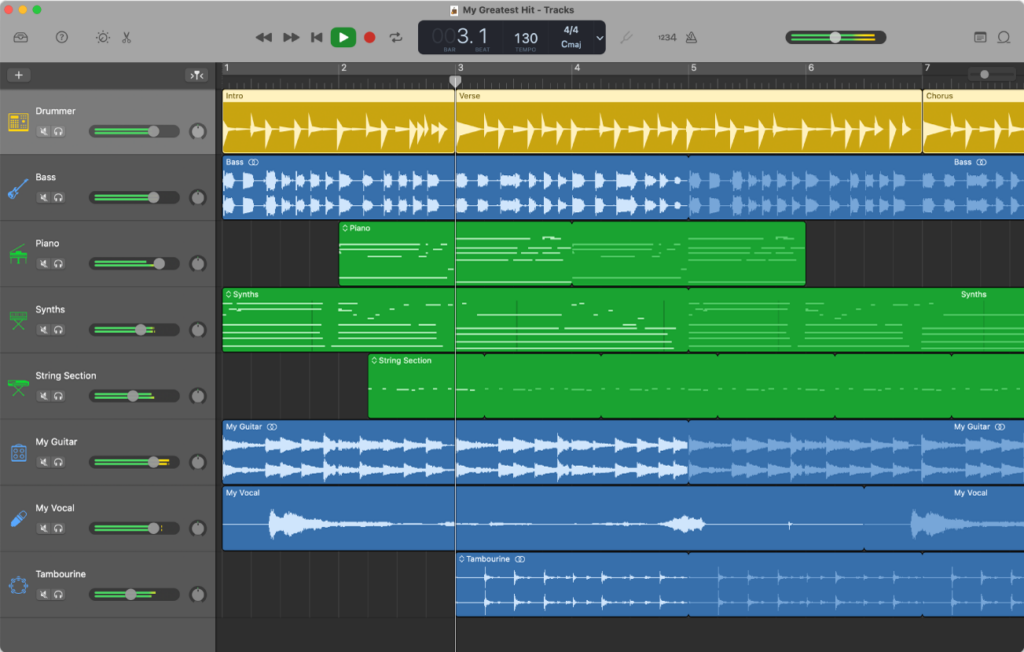
Of course, you can also record directly into your podcast software in which you will later edit the podcast. But which is the best? Which one should you use?
Unfortunately, it’s not that easy to say in general terms. The basic rule is: use the program that you like best. In our opinion, Audacity is not the first choice because, although it is free, it is not that easy to use. In addition, after a while you will reach the limits of the DAW (Digital Audio Workstation).
You should decide whether you really want to edit your podcast yourself and how much time and energy you want to put into it. If you want to master the editing game, we recommend programs such as Adobe Audition, Cubase LE and DaVinci. Some of these are free or very inexpensive and have lots of functions! Again, you will need a few hours to get to grips with the program, but you won’t quickly reach your limits!
If you just want to get started and want to do it efficiently, try GarageBand, for example, which is easy to use and free, but only available for Mac.
You should also consider having your podcast edited. This will give you more time for content and preparation and you won’t have to deal with editing, technology and stupid tutorials. We also offer a podcast editing service. We’re also happy to edit out bloopers and make your recording sound professionally.
How important is audio quality?
Many podcasters underestimate the audio quality, because the content is often discussed much more. But take a listen to the podcast charts: Is there really any content here that sounds bad? Very rarely! The podcast market is highly competitive and rightly so: recording your own podcast can be really worthwhile. But only those who offer good content and good audio quality have a chance on this market.
Many people are often on the move, listening in noisy environments (on the train or in the car). And yet your podcast needs to be intelligible so that people don’t switch off. If you have good content but poor quality, then there is sure to be at least one podcast on Spotify that offers similar content with better quality. This person is then unfortunately the better podcaster
More tips for your podcast
Now you have connected your USB mic to the PC, have an editing program ready and have ideally already recorded your podcast. But questions keep coming up: We would like to help you, take a look at our blog, we have articles on many topics, from recording podcasts, planning, intros and outros to hosting! So that your podcast episode is something special every time.
And if you don’t want to deal with all the technology: Contact us and we will be happy to advise you on all technical topics!
Conclusion: Good preparation helps you when podcasting!
It is absolutely important not to lose the common thread. Both when recording a podcast and with the podcast concept. A podcast script can also help you maintain this structure.
FAQ
How can you record a podcast?
You can record a podcast with a DAW. There are free programs such as Audacity and GarageBand, and there are now also many smartphone apps. If you want to produce a solo podcast, you can start with a microphone and the Voice Memos app on your smartphone.
Which app to record a podcast?
Popular smartphone apps (free):
- SpotifyforPodcasters (formerly Anchor.fm)
- SpeakerStudio
- Ferrite
How do you get started with a podcast?
With our 10 steps to creating a podcast, we give you a list of things you should do. We’ll take you step by step to your first podcast.
What equipment do I need for a podcast?
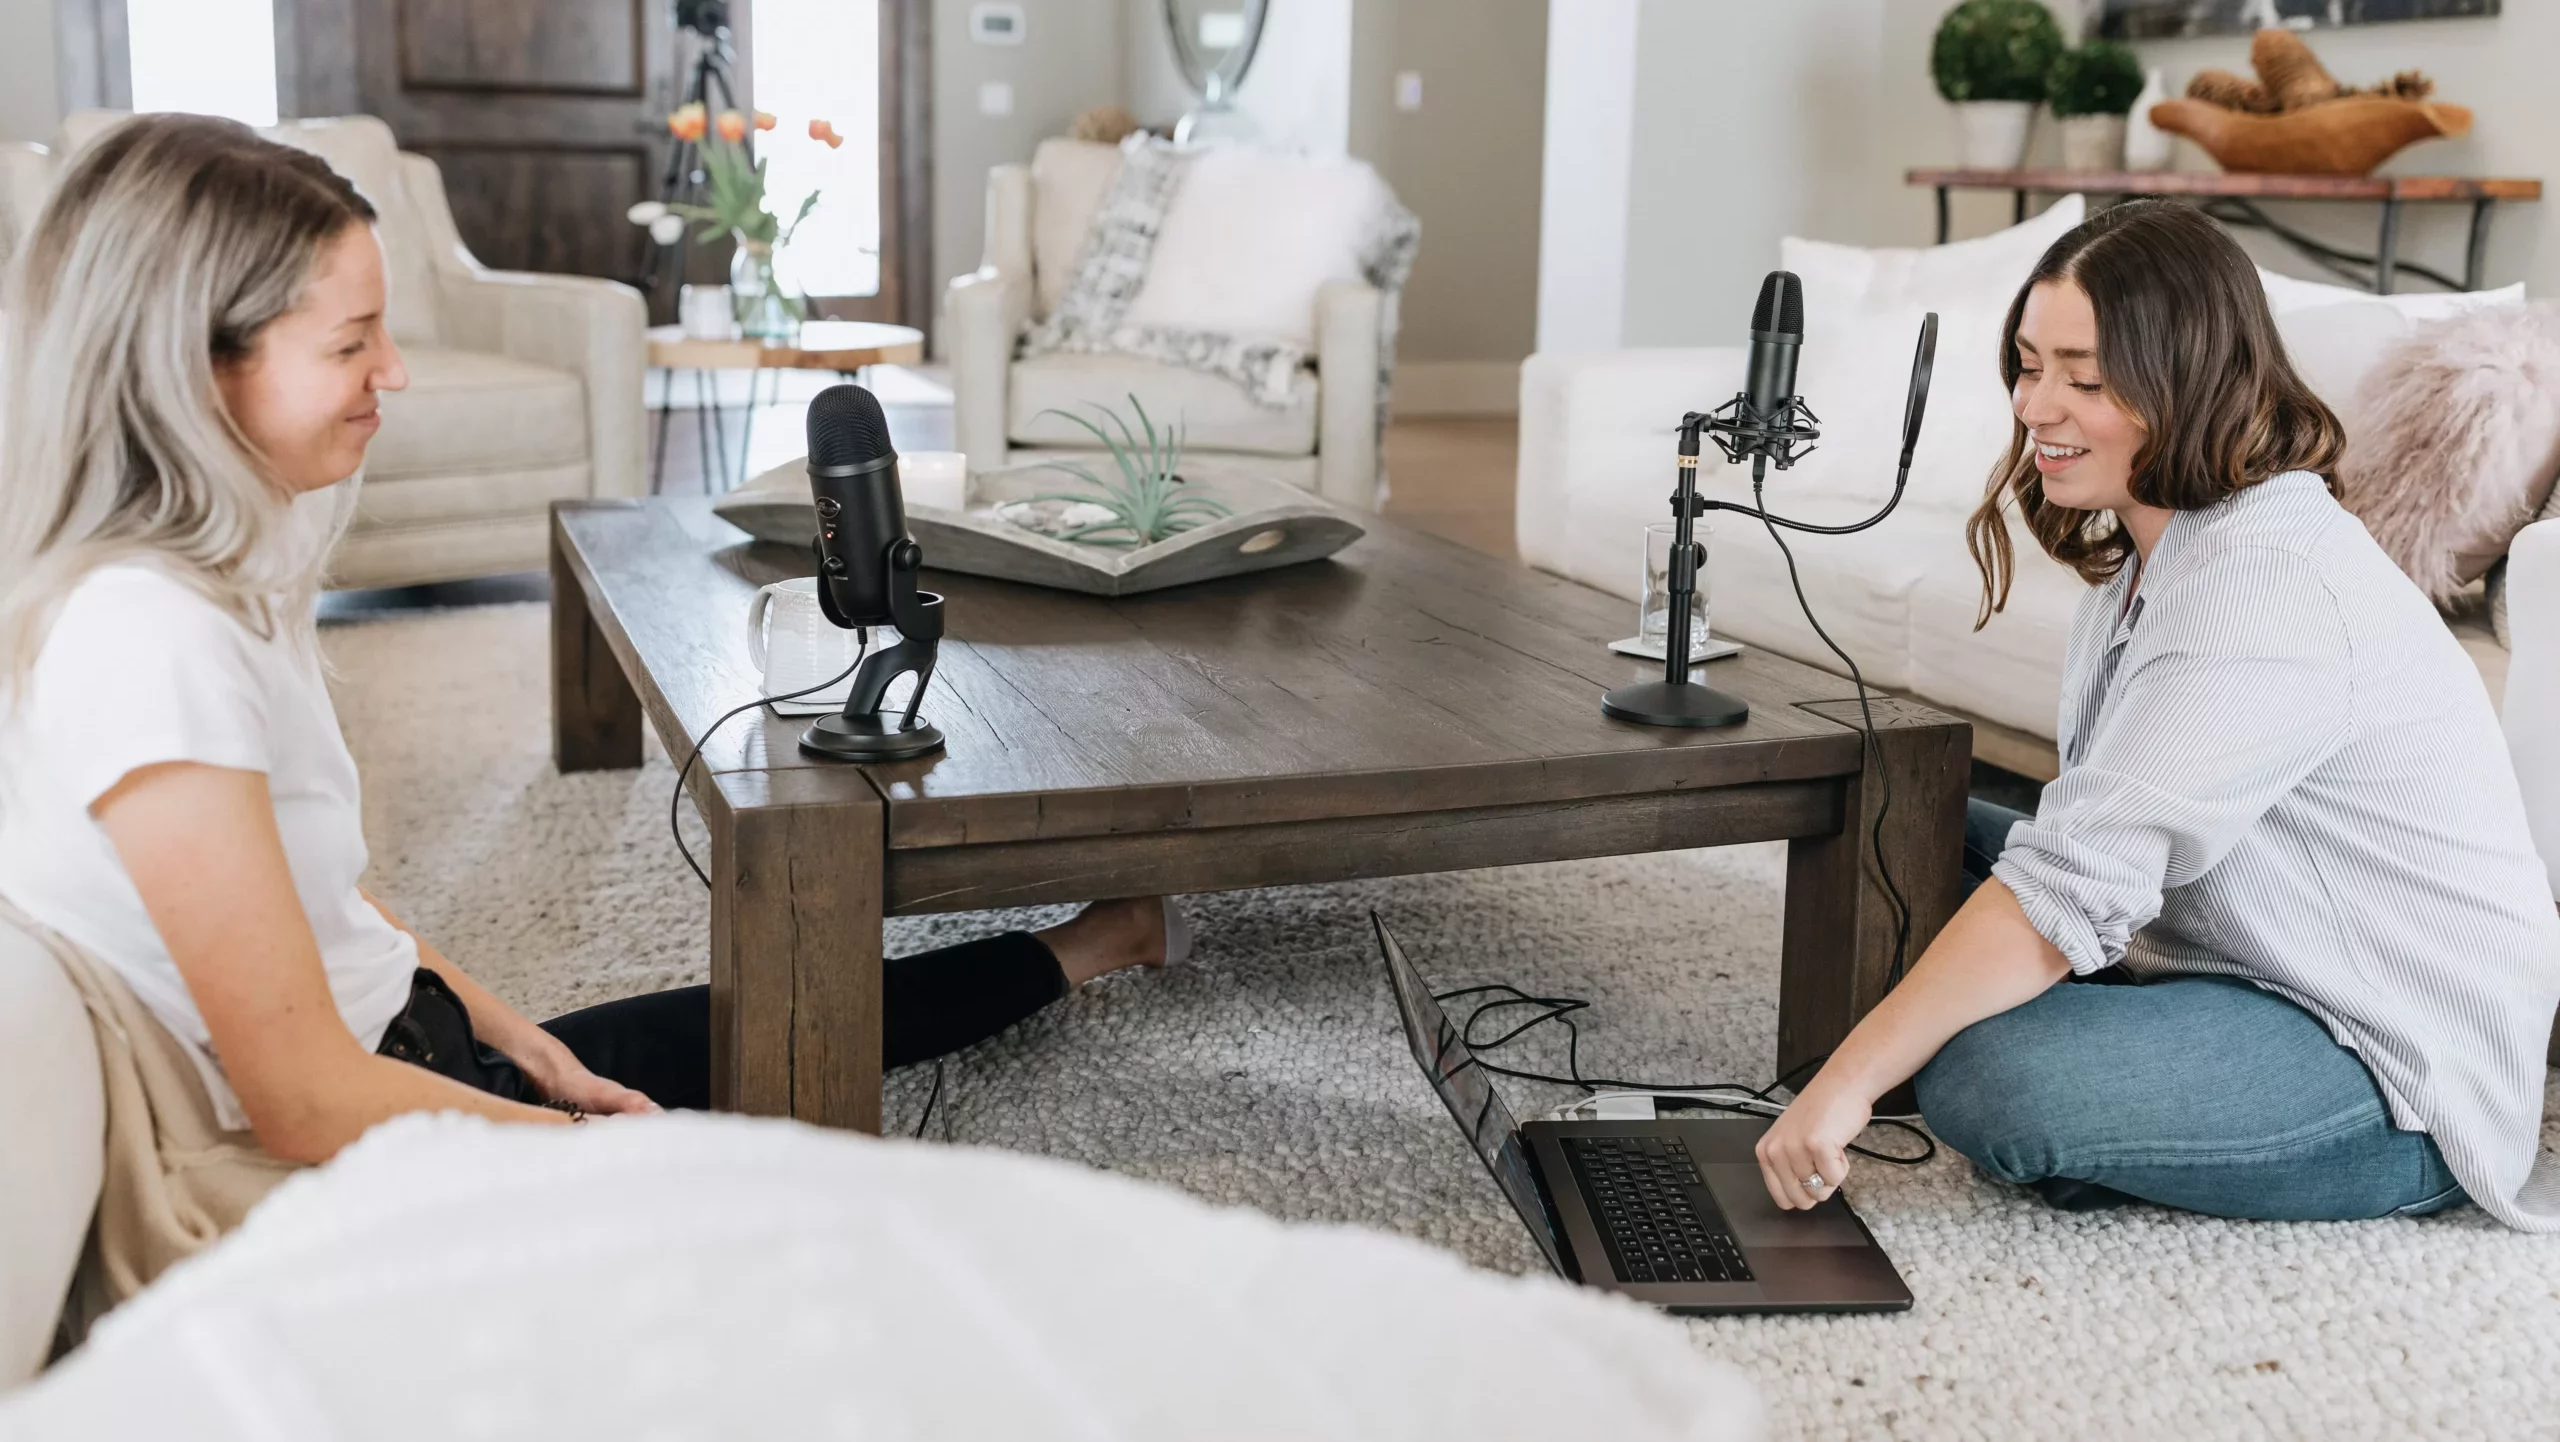
Inexpensive equipment to get you started looks like this:
- USB microphone incl. stand and pop protection
- Headphones
- A suitable room
- PC/laptop/smartphone
- Software for recording and editing
Which podcast platform is the best?
Spotify is by far the most popular and therefore also the podcast platform.
It offers producers the widest reach and listeners the greatest choice.
Links marked with * are affiliate links. There are no additional costs for you, some of these links are with an automatic discount for you. We mark these links for transparency and would never recommend bad products. Find out more here: Our partners.
